
Plastic media is a popular choice for finishing applications where controlled material removal and smoother surface finishes are required. With a wide range of formulations, shapes, and sizes available, selecting the right plastic media can feel overwhelming. This guide breaks the process into clear steps so you can confidently choose the best option and achieve consistent results.
- Define your process goal
- Select the right shape
- Choose an appropriate size
- Determine the required cut rate
- Consider surface finish requirements
- Match the media to your equipment
- Evaluate media longevity and cost
- Test before full-scale production
What Is Plastic Media?
Plastic media is manufactured from polyester or urea-based resins combined with abrasive materials. It is designed for use in vibratory finishers, tumblers, and other mass finishing equipment to deburr, smooth, pre-finish, or polish parts. Compared to ceramic media, plastic media is generally lighter, less aggressive, and better suited for softer metals or applications where maintaining dimensional tolerances is important.
Step 1: Define Your Process Goal
Begin by determining exactly what you want the media to accomplish.
If your goal is removing machining marks or light burrs, a higher-cut plastic media may be appropriate. For surface smoothing before coating, plating, or anodizing, medium-cut media often delivers the desired results. If you are focused on cosmetic finishing or preparing parts for polishing, a finer media may be the better choice.
The type of material being processed also matters. Plastic media is commonly used with aluminum, brass, zinc die castings, and other softer metals that more aggressive ceramic media can damage.
Step 2: Select the Right Shape
Media shape influences how effectively it reaches different surfaces and features.
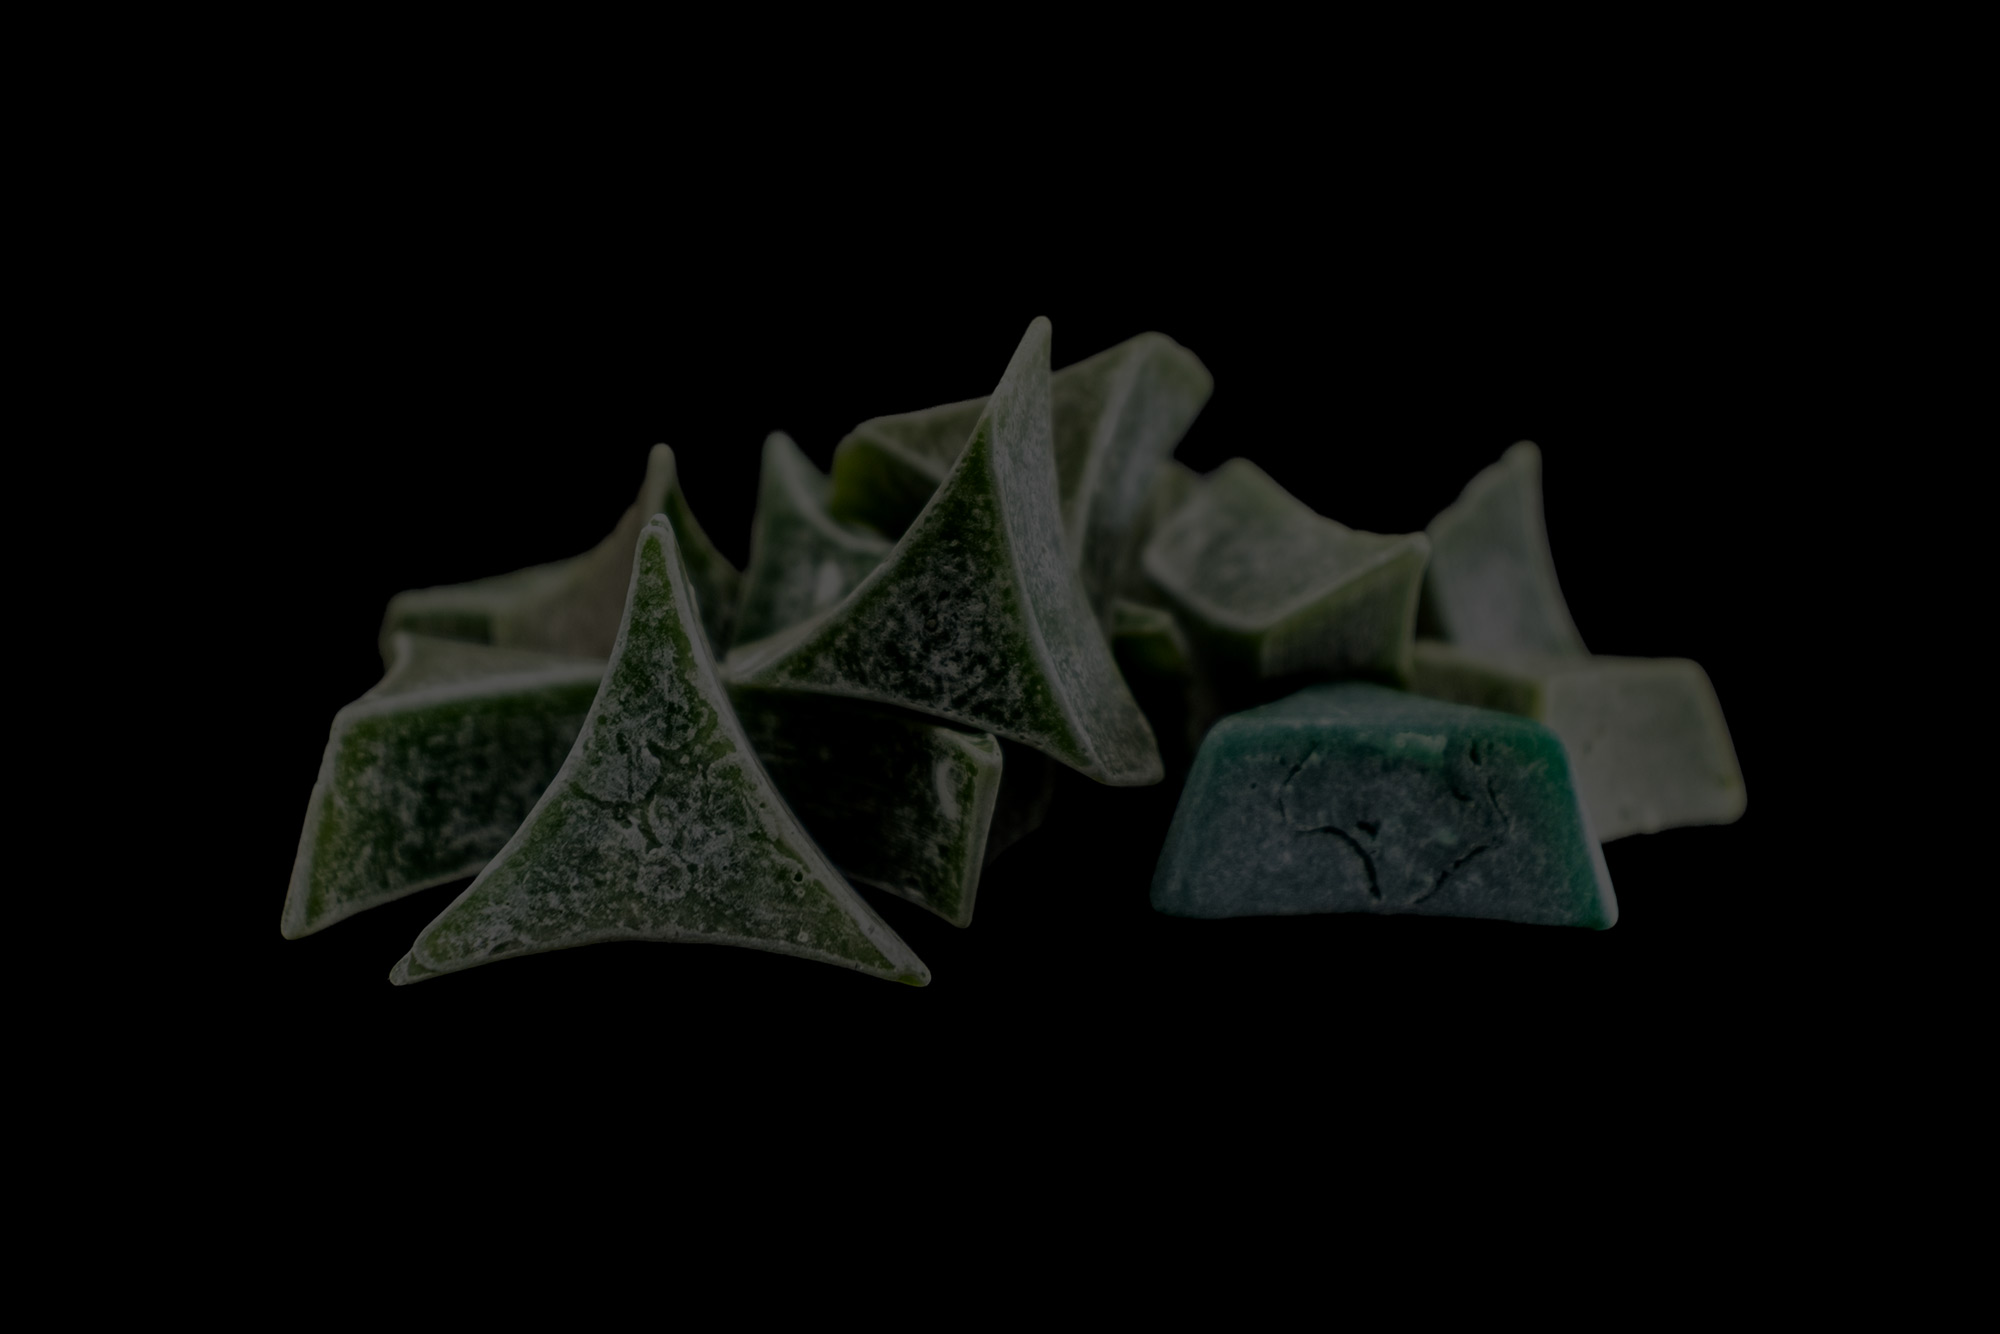
Triangles and angle-cut cylinders are commonly used for parts with corners, recesses, or detailed geometries because they can access hard-to-reach areas. Cylinders perform well on flat surfaces and provide more consistent contact. Cones and pyramids can be effective when processing parts with a combination of flat and contoured surfaces.
Selecting the proper shape helps ensure thorough finishing while minimizing the risk of media lodging in holes or intricate features.
Step 3: Choose an Appropriate Size
Media size plays a major role in both finishing effectiveness and processing efficiency.
Smaller media can reach into narrow slots, holes, and intricate features while producing a finer finish. Larger media remove material more quickly and may deliver shorter cycle times on larger parts. However, oversized media may not adequately reach detailed areas.
As a general guideline, choose media that is small enough to access critical surfaces but large enough to avoid becoming trapped within the part geometry.
Step 4: Determine the Required Cut Rate
The abrasive content of plastic media determines its cut rate, or how quickly it removes material.
Higher-cut formulations are typically used for deburring, edge radiusing, and removing machining marks. Medium-cut options provide a balance between material removal and surface refinement. Fine-cut media is often selected for final finishing stages where maintaining part dimensions and achieving smooth surfaces are priorities.
Matching the cut rate to the application improves efficiency while preventing excessive material removal.
Step 5: Consider Surface Finish Requirements
Different finishing objectives require different media formulations.
If parts will be painted, plated, coated, or anodized, surface preparation is critical. Some plastic media formulations are designed to create a uniform matte finish, while others produce smoother surfaces that require less secondary finishing.
Understanding the part’s final appearance and performance requirements helps guide media selection and ensures more predictable results.
Step 6: Match the Media to Your Equipment
Your finishing equipment should be considered during the selection process.
Plastic media performs differently depending on machine type, including vibratory bowls, tubs, centrifugal barrel systems, and rotary tumblers. The weight, size, and density of the media influence machine action, part movement, and finishing consistency.
Using media that is well-suited to your equipment promotes efficient processing and helps achieve repeatable results.
Step 7: Evaluate Media Longevity and Cost
The lowest purchase price does not always provide the best overall value.
Higher-quality plastic media often maintains its shape longer, delivers more consistent finishing, and reduces process variability. Media that wears evenly may also require fewer replacements and reduce maintenance interruptions.
When comparing options, consider total operating costs, including media life, cycle time, labor, and overall process efficiency.
Step 8: Test Before Full-Scale Production
Testing remains one of the most important steps when selecting plastic media.
Running controlled trials with different sizes, shapes, and formulations allows you to evaluate material removal rates, surface finish quality, and cycle times under actual production conditions. Small-scale testing helps identify the most effective solution before implementing it across larger production runs.
This approach reduces risk, minimizes unexpected issues, and increases confidence in the final selection.
Final Thoughts
Choosing the right plastic media starts with understanding your finishing objectives, part geometry, and material requirements. By evaluating factors such as shape, size, cut rate, and equipment compatibility, you can identify a solution that delivers reliable and efficient results.
When properly matched to your application, plastic media can improve surface quality, reduce process variability, and help maintain tight part tolerances while supporting a more efficient finishing operation.